
Installing a Shower Screen: Tips and Tricks for a Successful Project
Post by : Byron Sanchez
Post by : Byron Sanchez
Are you tired of cleaning up puddles of water every time you take a shower? Do you want to upgrade your bathroom with a stylish and practical feature? Then, installing a shower screen might be the solution you need! A shower screen is a panel or door that separates the shower area from the rest of the bathroom, preventing water from splashing out. With the right tools, materials, and techniques, you can install a shower screen yourself and enjoy a more comfortable and hygienic shower. In this blog post, we’ll share some tips and tricks for a successful project, so you can transform your bathroom into a modern and functional space.
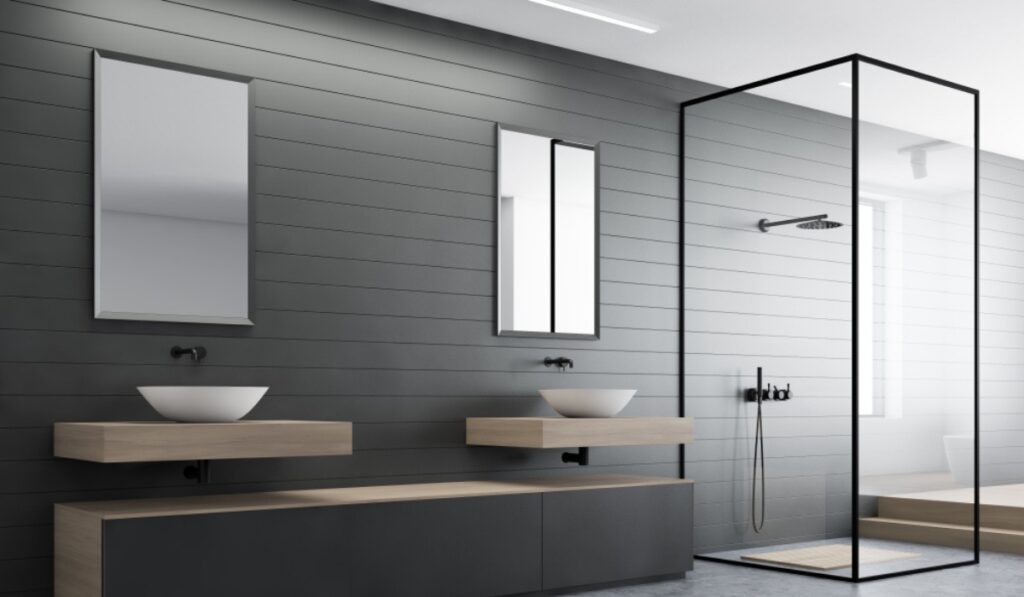
Before you start installing a shower screen or glass replacement in Melbourne, you need to choose the right type and size for your needs. There are various types of shower screens, such as framed, semi-framed, and frameless, each with its pros and cons. Framed shower screens are the most affordable and durable, as they have a metal frame that supports the glass panels. Semi-framed shower screens have a frame only around the perimeter of the panel, leaving the glass more visible. Frameless shower screens have no frame at all, and the glass is held in place by brackets or hinges. They are the most stylish but also the most expensive and delicate. You also need to consider the size and shape of your shower area, as well as any obstacles or features that may affect the installation.
Before you start installing a shower screen, you need to gather all the tools and materials you’ll need for the project. These include a drill, a spirit level, a silicone gun, a hammer, a screwdriver, a saw, a measuring tape, a pencil, safety goggles, gloves, a tile cutter (if necessary), and the shower screen kit itself. Make sure you read the manufacturer’s instructions and follow the safety guidelines. You may also need to prepare the surface and remove any old fixtures or tiles that may interfere with the installation.
The first step to installing a shower screen is to attach the frame or brackets to the wall or floor, depending on the type of screen. If you’re installing a framed or semi-framed screen, you’ll need to measure and mark the position of the frame or perimeter brackets, drill the pilot holes, and screw them in place. If you’re installing a frameless screen, you’ll need to attach the brackets or clamps to the glass panels first, and then position them on the wall or floor. Make sure you use the spirit level to ensure that the frame or panels are perfectly horizontal and vertical.
Once you have the frame or brackets in place, you can fit the glass panels into them. If you’re installing a framed or semi-framed screen, you’ll need to slide the glass panels into the frame or brackets and secure them with clips or screws. If you’re installing a frameless screen, you’ll need to insert the glass panels into the clamps or brackets and tighten them with a screwdriver. Make sure you use the silicone sealant to seal the edges of the glass panels and prevent water from leaking.
Finally, you need to test and adjust the shower screen to ensure that it works properly. Open and close the door or panel several times to check that it moves smoothly and doesn’t hit any obstacles or gaps. If necessary, you can adjust the position or tension of the hinges or brackets to align the panels and mitigate any wobbling or squeaking. You can also apply some silicone lubricant to the hinges or tracks to make them more durable and resistant to rust and corrosion. Once you’re satisfied with the results, you can clean up any debris or excess silicone and enjoy your new shower screen.
By following the tips and tricks we’ve shared in this blog post, you can choose the right type and size of the shower screen, prepare the tools and materials, install the frame or brackets, fit the glass panels, and test and adjust the screen for optimal performance. Remember to always read the instructions and safety guidelines, and ask for professional help if you’re not confident or experienced enough. With a little patience and effort, you can achieve a stylish and practical shower screen that will make your shower time more enjoyable and stress-free.
Comments are closed